Addtronics W8500 WTX Workstation/Server Tower Case
by Mike Andrawes on January 22, 2000 1:24 AM EST- Posted in
- Cases/Cooling/PSUs
Design
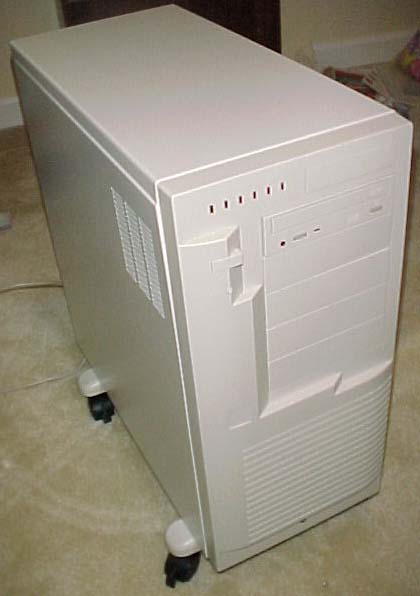
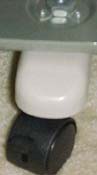
In many ways, the Addtronics W8500 has a very similar feel to the Supermicro SC750-A. However, this comes is not a huge surprise since the SC750-A is nothing more than the Addtronics EX-6890 with a few minor modifications and the Supermicro label slapped on the front. This time around, the Addtronics has taken a different route to achieve massive expandability. The W8500 stands 6 inches shorter than the behemoth SC750-A/EX-6890, but is 3 inches wider and 1 inch deeper. To ensure this thing never tips over, four large, height adjustable feet are attached to the bottom of the case. A set of casters, or wheels, is optionally available to make the task of moving this monstrous case around a bit easier.
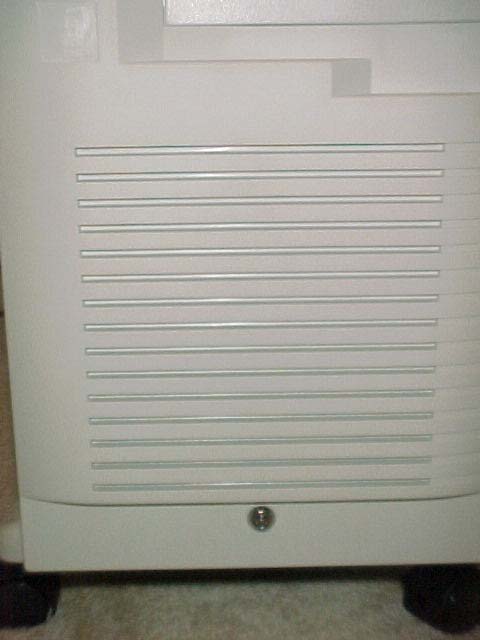
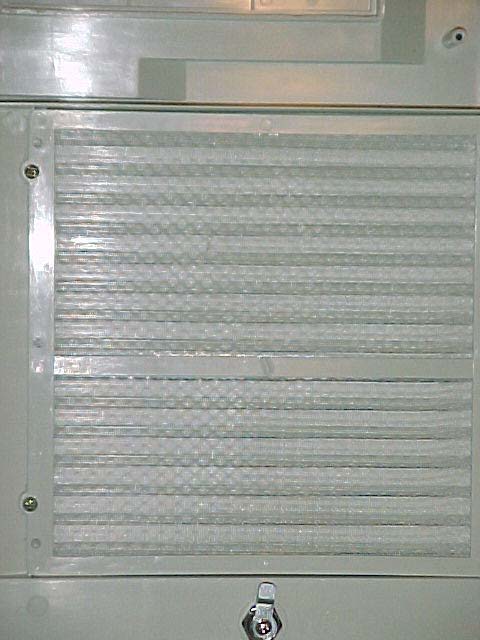
Following a similar design philosophy as used in the SC750-A/EX-6890, the front bezel simply snaps into place and features a mechanical locking mechanism to prevent unauthorized entry to the system. Plenty of ventilation holes allow for excellent airflow into the front of the case. The back of the bezel features a washable air filter that prevents the uptake of dust into the case - a serious issue for a machine that runs 24 hours a day, 7 days a week.
 |
|
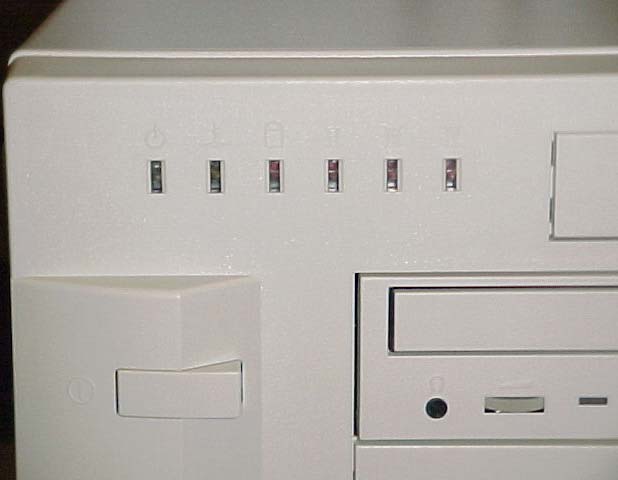
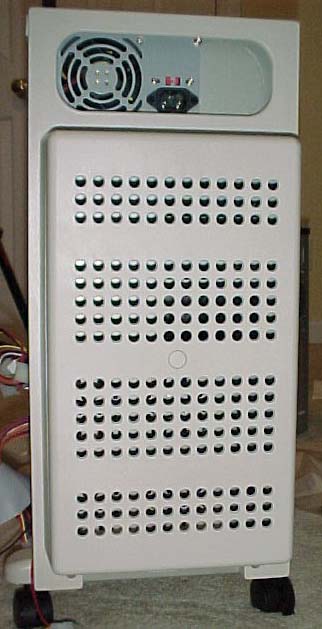
The power switch is located in the upper left hand corner and is large enough to press easily. The rest button is just below the power switch and is quite a bit smaller, but still easy to press. Exposing its server roots, the W8500 features a grand total of 6 status LED's - 4 separate red HDD LED's, a green power LED, and a yellow overheat LED.
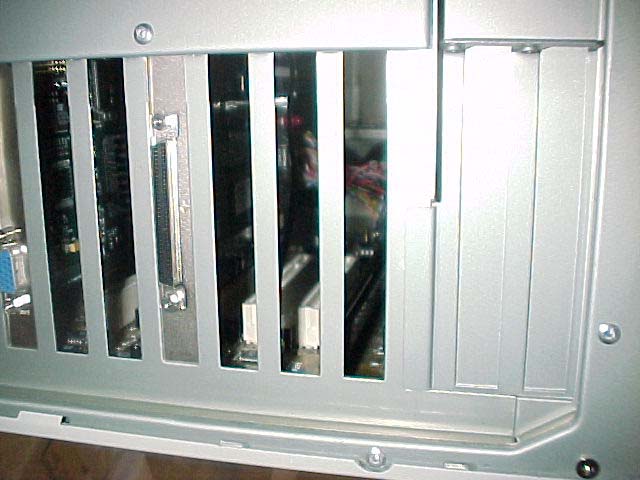
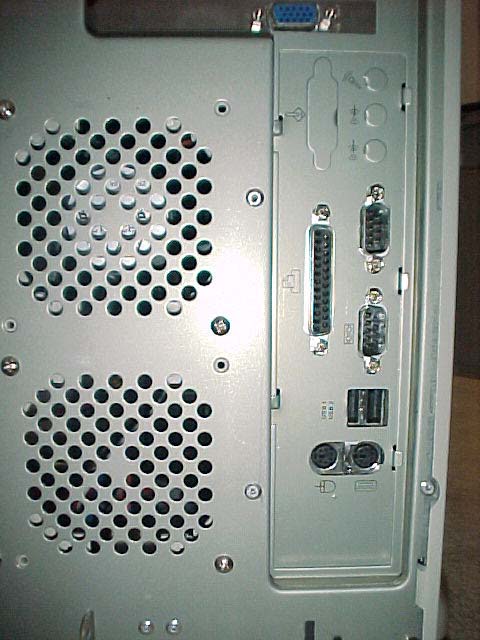
Once a rear panel cover is removed, the first evidence of the WTX form factor can be found. The ATX I/O shield opening is replaced by the wider WTX I/O shield in accordance with the WTX specification. Further, a grand total of 9 expansion slots are now available thanks to WTX, with the two additional slots tacked on to the left side of the motherboard.
Opening the W8500 is much like opening the SC750-A; simply tug on the bottom of the bezel to release it, then remove three screws to free each side panel. The side panel then swings out on "hinges" at the rear of the case. Once open about 45 degrees, the panel can be lifted slightly to complete the removal process. Thanks to the way in which the bezel snaps to the front of the case and a small lip on the side panel, it is not really necessary to use screws to secure the side panels if quicker entry is desired. The design and construction quality of the case allow all panels to be removed and replaced with minimal effort. Not surprisingly, the build quality is equally as good once inside, with no sharp edges and solid construction.


0 Comments
View All Comments