Original Link: https://www.anandtech.com/show/2195
Apple TV - Part 1: Unboxed and Dissected
by Anand Lal Shimpi on March 22, 2007 6:12 PM EST- Posted in
- Mac
Although the less exciting of Apple's major announcements this year, Apple TV is finally upon us. As the world waits for the iPhone, it's time to look at Apple's latest entry into the convergence market. While we work on our review we thought you all might like to see the innards of the Apple TV.
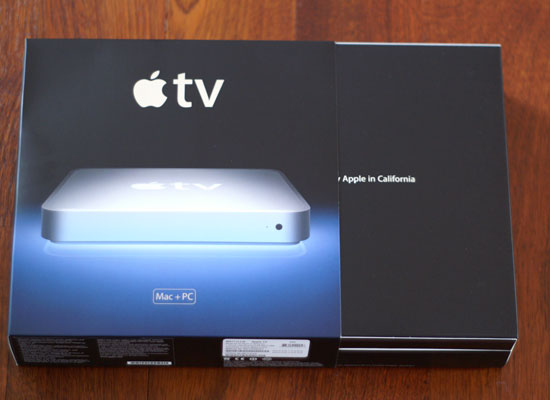
The Apple TV box is stylish in Apple's usual fashion:
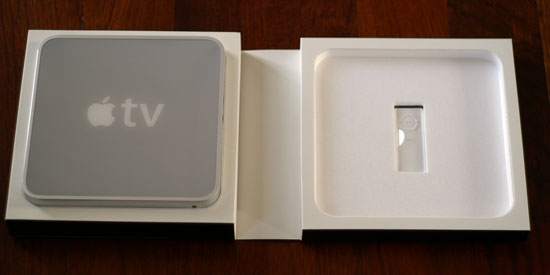
The inner box is like a giant iPod box, you open it like a book:
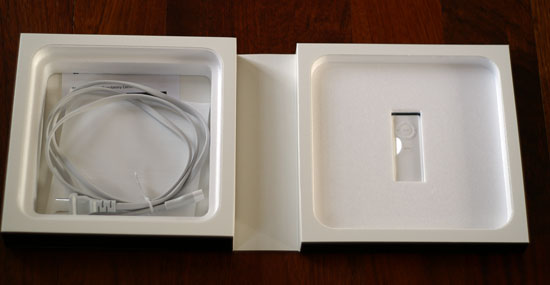
On the left you've got the Apple TV unit, on the right its remote. Beneath the Apple TV you'll find the only cable supplied with the unit and documentation:
The power cable that ships with the Apple TV is quite possibly the most unkempt cable we've seen ship in a recent Apple product. The cable itself is fine, but it's not wrapped in some ridiculously elegant way - given that the Apple TV is about a month late to market could it be that things were a little rushed on the assembly line?
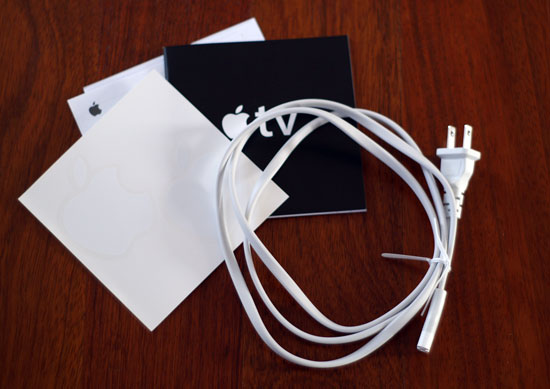
Click to Enlarge - This is exactly how the box arrived, you also get two Apple stickers with your purchase, each one good for 10HP
Apple TV: Unplugged
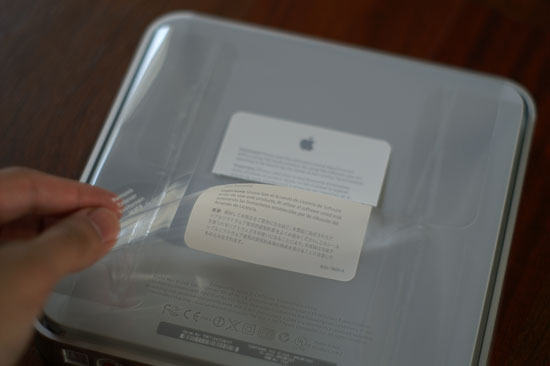
Unwrapping the Apple TV reminds you to read the license agreement, so much for that:
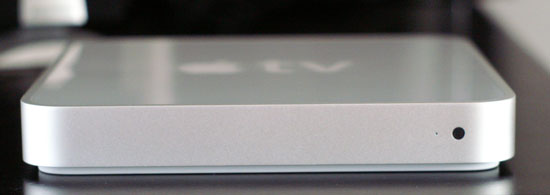
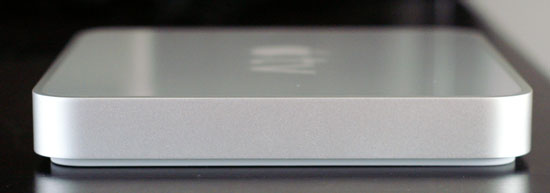
The unit itself is quite sleek at 7.7" x 7.7" x 1.1":
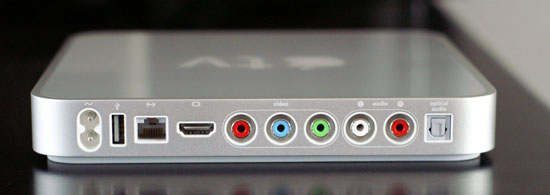
The only things present on the front are a power/status LED and the IR receiver for the remote. The back is a bit more interesting:
On the rear, from left to right, we have the unit's power connector, USB, Ethernet, HDMI, component out, RCA audio out and optical audio outputs.
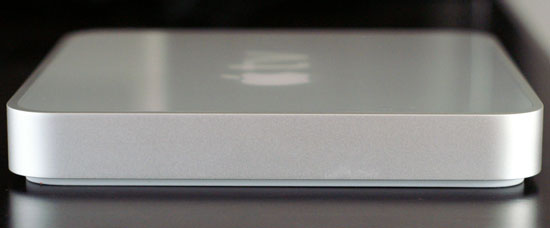
The sides of the unit are plain:
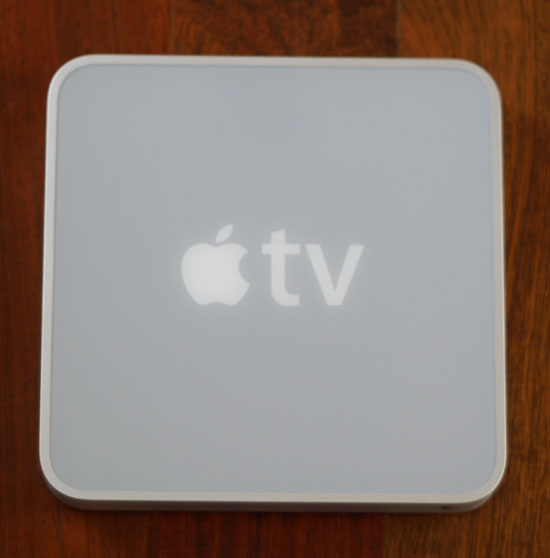
The top of the unit gets quite warm (we'll explain why later) and has a Mac mini-like finish:
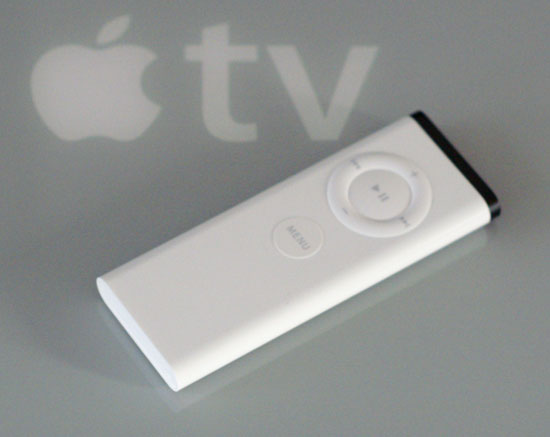

The bundled remote and its battery
Getting Inside - It's that Easy?
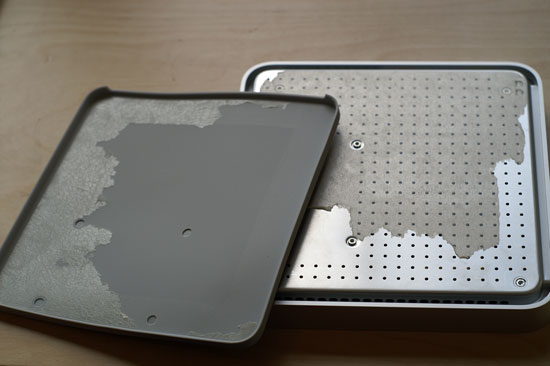
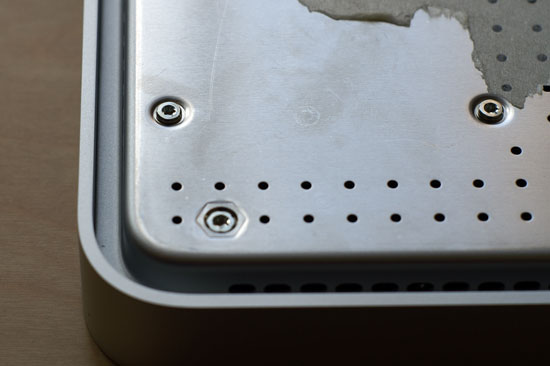
The bottom of the unit is made of the familiar rubber that we've seen on so many Apple products, including the Mac mini. There are no exposed screws but if you peel up one of the corners of the rubber base you'll see why:
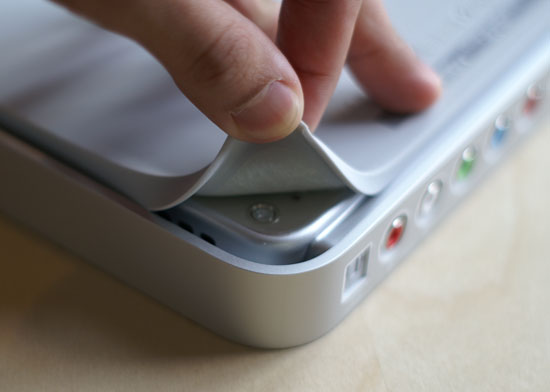
Beneath the rubber bottom are four T10 screws and four T8 screws; armed with our torx driver we went to town:
The rubber base is held to the metal underneath with an adhesive, unfortunately it doesn't exactly come off too easily leaving us with the mess above. It's a small sacrifice to make to satisfy our curiosities.
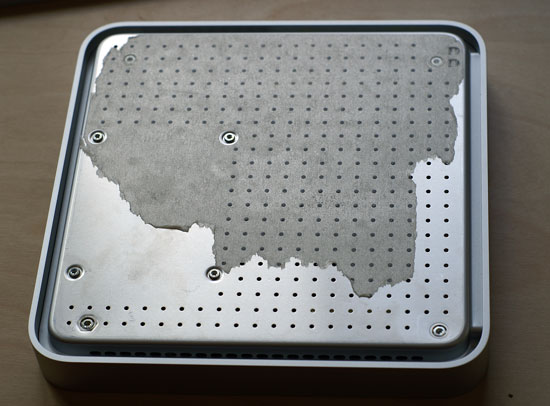
The outer four screws actually hold the vented plate in place, the four inner T8 screws keep the internal 40GB hard drive in place. You'll want to remove all of them though.
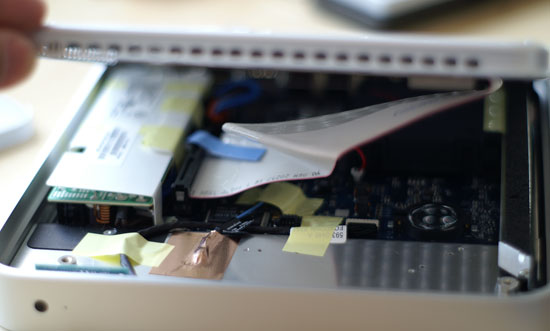
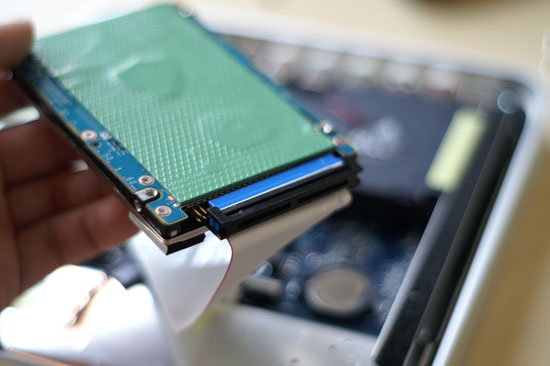
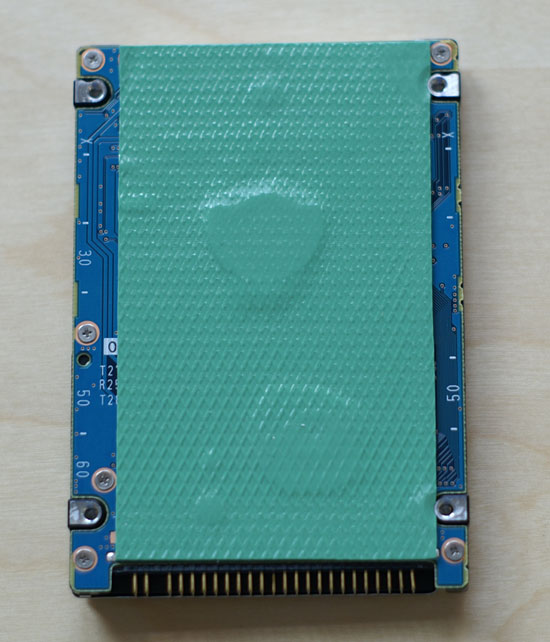
Amazingly enough, that's all you have to do to get inside the Apple TV. Apple seems to vary how difficult it makes opening hardware, and the Apple TV definitely ranks as one of the easiest devices to get inside. Lifting the bottom plate reveals an IDE cable attached to the internal hard drive. With the four HDD screws removed that we mentioned earlier, the only thing keeping the drive in place is a sticky green pad. Just tug on the drive and it will come off without any trouble:
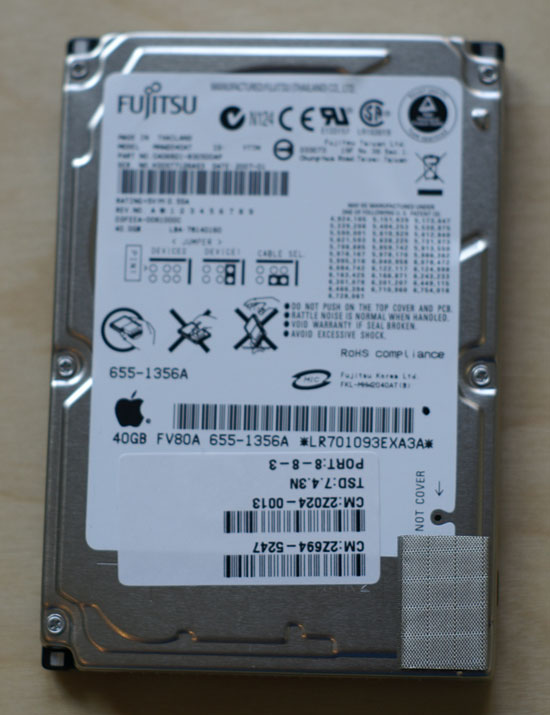
The drive in our sample was a 40GB Fujitsu MHW2040AT:
The drive is a 2.5" single-platter 4200 RPM PATA solution with a 2MB buffer.
Motherboard: Spotted
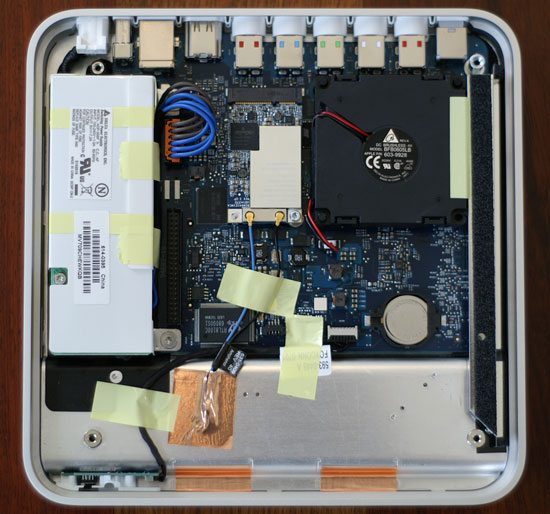
With the drive disconnected we're left with the following sight:
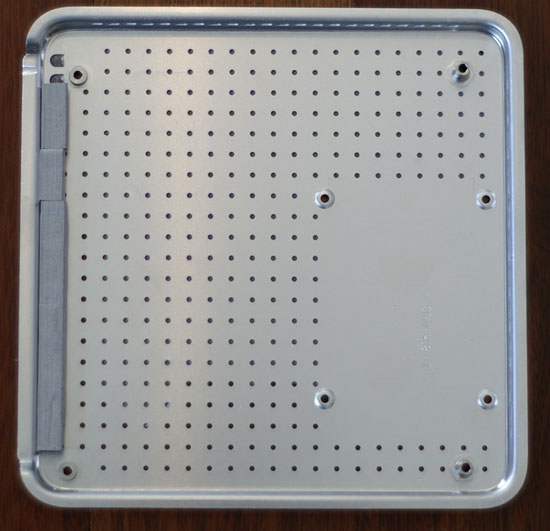
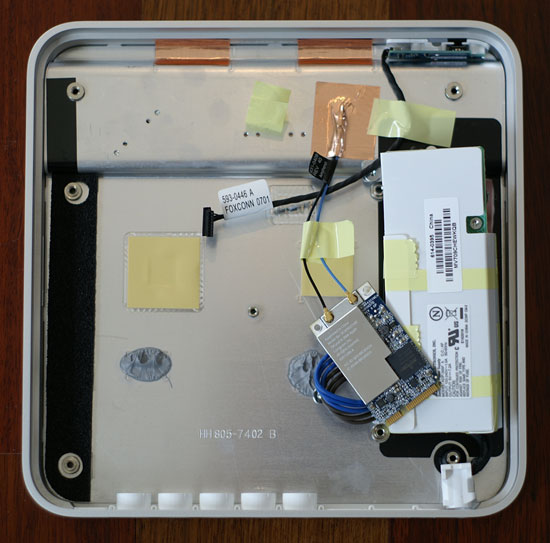
Click to Enlarge - The bottom plate of the Apple TV unit
We can't get the motherboard out quite yet though, first we have to tackle the power supply which is the white bar to the left in the picture above:
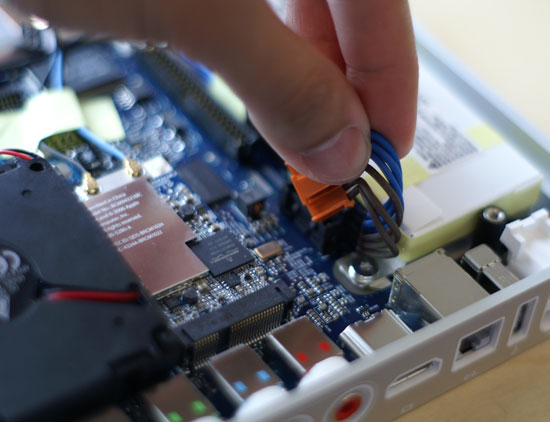
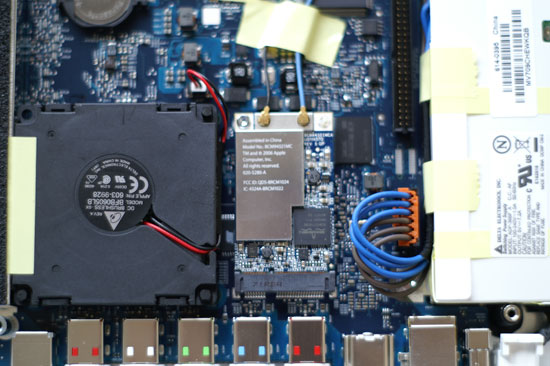
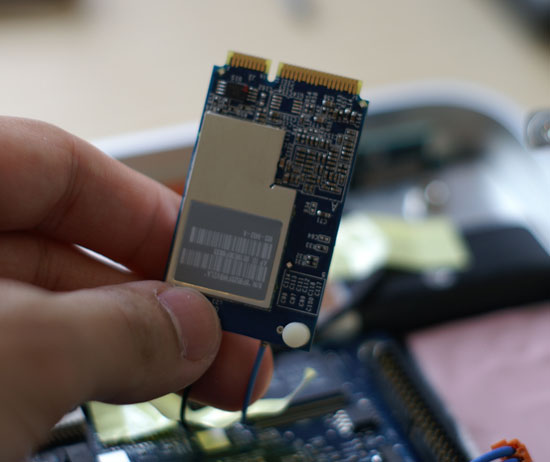
With the power supply out of the way, we've got to move inwards and unscrew the wireless card:
To the left of the first antenna terminal on the card is a T8 torx screw, removing it lets you pull out the wireless card:
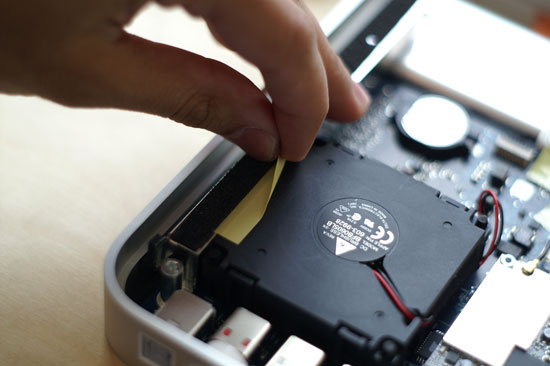
There's ample yellow tape used inside the Apple TV to keep cables in place, we had to peel some of it off to push the wireless card to the side.
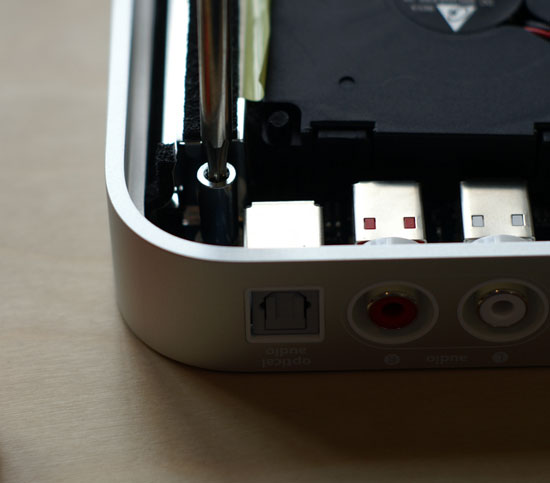
We've got two more screws to remove before we can lift the motherboard out of the case, both of which are located around the metal bar that the fan is taped to (see above):
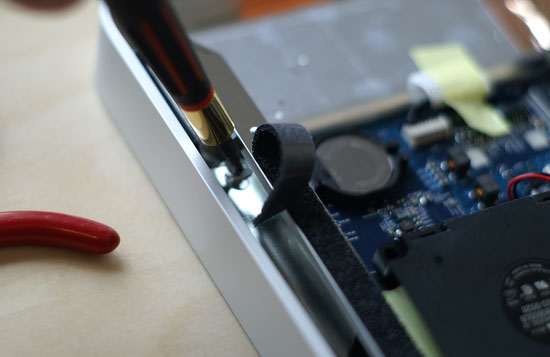
This first one is a bit of a pain to get to; if you've got a thin and long enough torx bit (T8) you can get to it pretty easily, but if you don't you'll have to go at an angle like we did as you can see from the picture above.
The final screw is actually an even larger torx mount that one of the T10 screws screwed into:
Motherboard: Out and in Hand
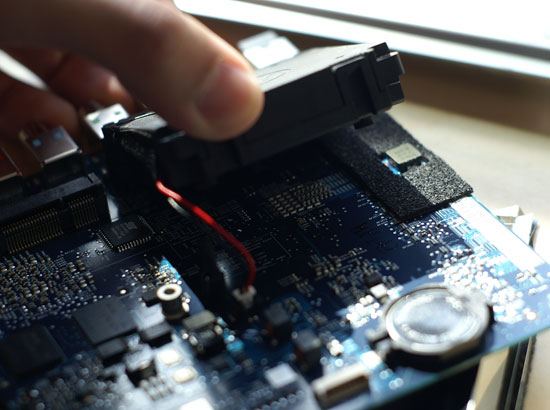
With the last screws removed we can remove the motherboard from its case:
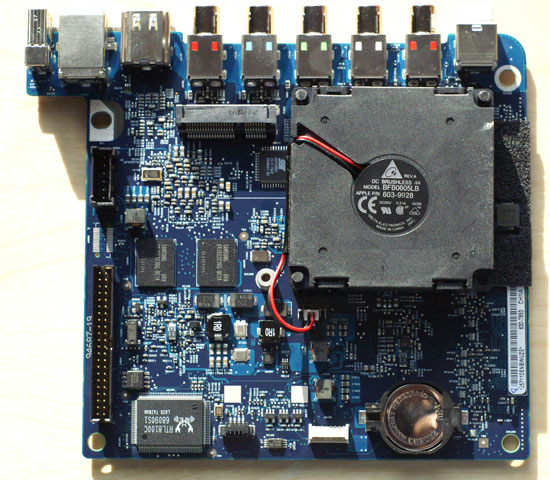
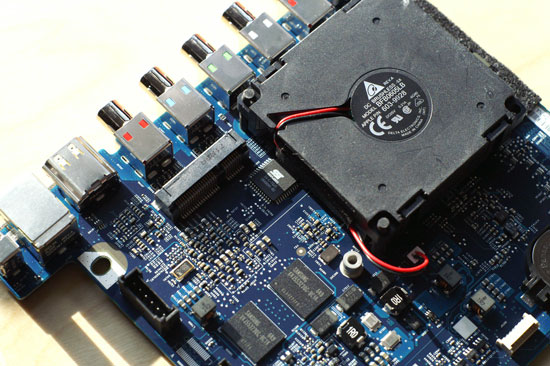
What you see above is the bottom of the motherboard, and despite its appearance, there's nothing beneath the black fan on this side of the motherboard:
Opposite the fan on the other side of the motherboard is the Apple TV's Intel CPU which we will get to shortly.
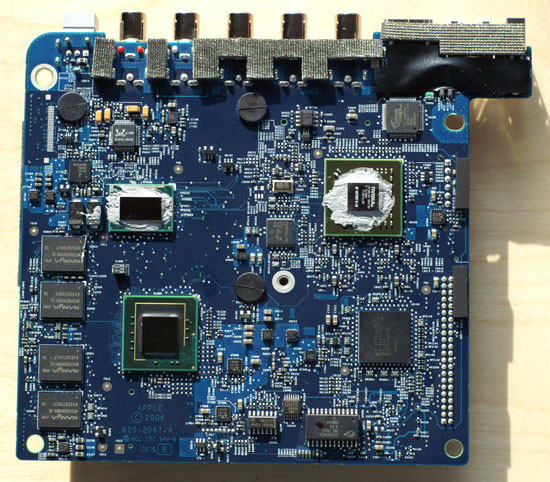
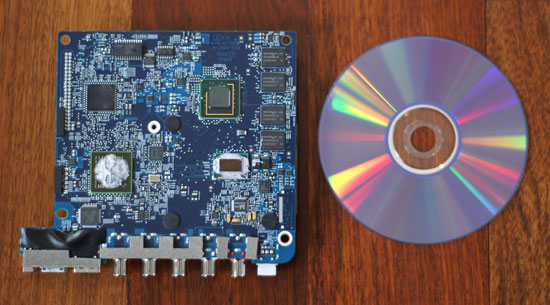
Above you see the top of the motherboard, this is what is underneath the cover of the Apple TV. We've wiped the thermal grease off of the left and right chips along the top. The chip on the left is the Intel CPU, while the one on the right is the NVIDIA GPU. More on both of these shortly.
With the motherboard out, this is what remains underneath the top cover of the Apple TV unit. Note that the top of the Apple TV is actually a heatsink used to dissipate the heat from the CPU, GPU and chipset; the only fan present in the system is at the bottom and it doesn't directly cool a heatsink, it indirectly moves air around the upper surface of the unit. This is far from the most elegant cooling solution, but we suspect that it was necessary to accommodate the dimensions of the unit. If you want to know why the top of the Apple TV gets so warm, this is why.
The motherboard itself is quite small, a bit larger than a DVD:
Apple TV: Powered by NVIDIA?
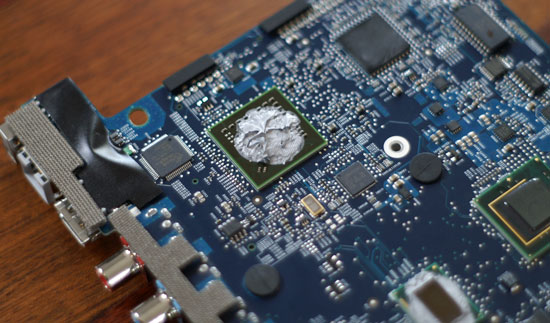
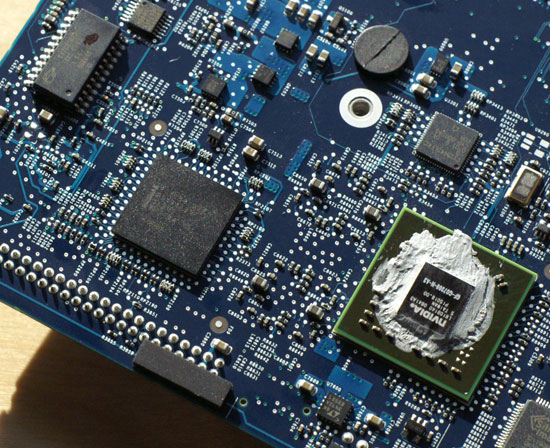
Now we get to the interesting stuff, beneath one of the globs of thermal grease is an NVIDIA GPU:
The chip itself is a GeForce Go 7300:
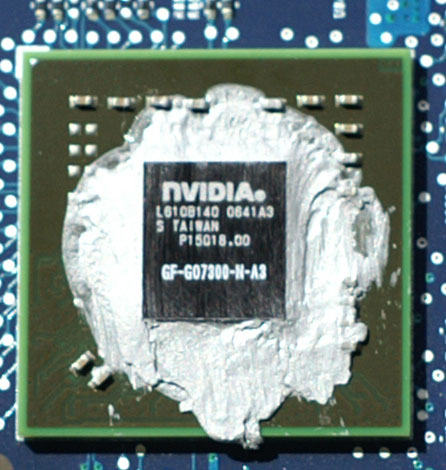
The Go 7300 has 4 pixel pipes and 3 vertex pipes and a 64-bit memory interface. On the bottom of the motherboard you'll see the two 32MB Samsung 700MHz GDDR3 devices for a total of 64MB of dedicated graphics memory. The Go 7300 does support Turbo Cache so it can get speedy access to main memory, but given that the Apple TV will be required to deal with fancy graphics and transitions at resolutions as great as 720p or 1080i it makes sense to have a good amount of local memory. As thoughtfully pointed out by AnandTech reader Eug, the Go 7300 may also be used to help accelerate H.264 video decode.
We were actually surprised by Apple's decision to go with a dedicated GPU in the Apple TV, especially considering that the Intel chipset included has its own graphics core.
Next to the NVIDIA GPU is a Silicon Image TMDS transmitter that handles the HDMI output:
![]()
What Intel CPU did Apple go with?
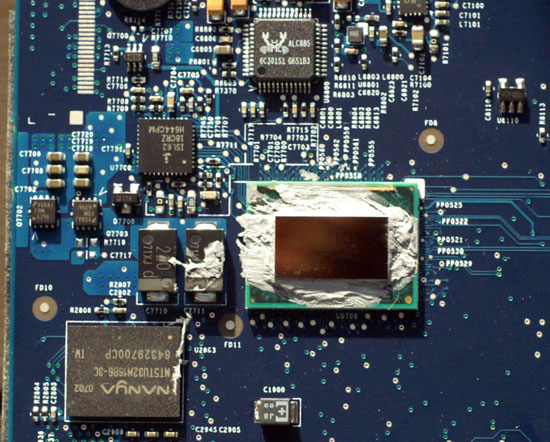
The only other chip on the motherboard liberally covered in thermal grease is the Intel CPU:
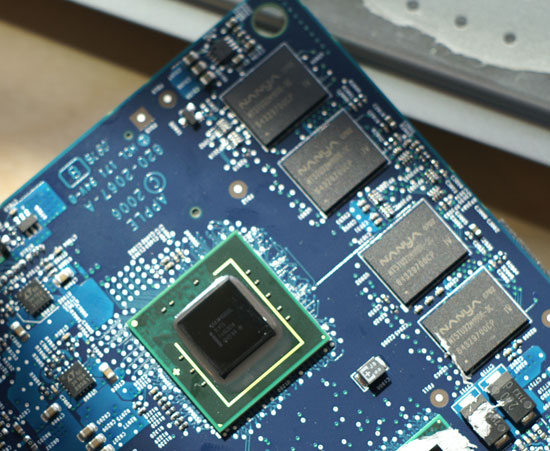
The CPU isn't made public on Apple's site nor do any of the markings match up with anything in any of Intel's public databases, however we were able to find out a bit about where to start looking given that the North Bridge it was connected to was a Mobile 945G:
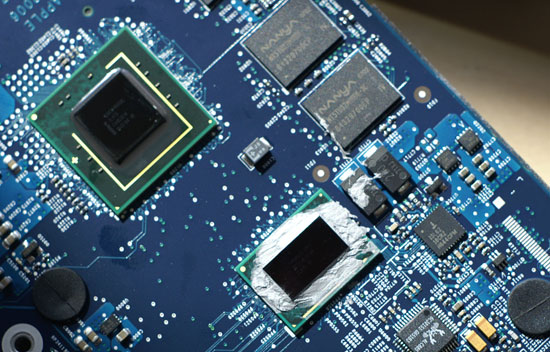
Click to Enlarge - The 945G North Bridge is the larger chip to the upper left
We believe that the Intel CPU in the Apple TV is an Ultra Low Voltage Pentium M based on the Dothan core, running at 1GHz (max frequency), 400MHz FSB and a 2MB L2 cache.
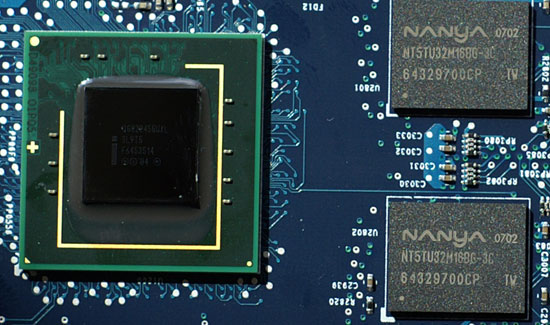
The Mobile 945G is connected to the Apple TV's main memory:
Each Nanya DDR2 device is 64MB in size, for a total of 256MB of main memory that the Apple TV has at its disposal.
Final Shots
The South Bridge is located across from the Go 7300 and the 945G North Bridge:
The less prominent devices on the Apple TV motherboard are the usual suspects, starting with an ALC885 audio codec:
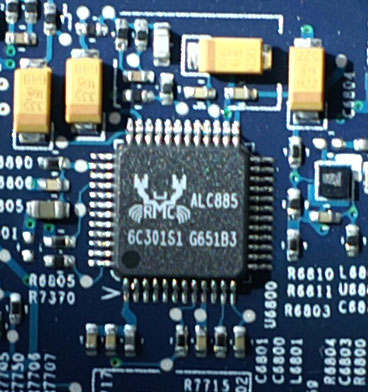
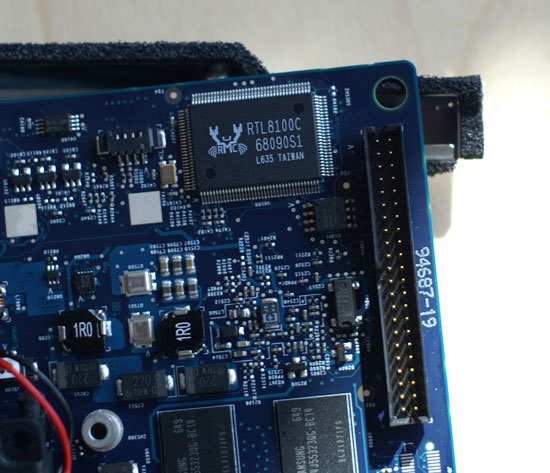
The 10/100 Ethernet port is driven by the RTL8100C controller:
There you have it, the Apple TV unboxed and dissected. The review will follow shortly as we figure out how to put this thing back together and get back to testing.

