MP3 meets Car Audio: Empeg Mark II in-dash Car MP3 Player
by Anand Lal Shimpi on September 18, 2000 3:17 AM EST- Posted in
- Smartphones
- Mobile
The empeg’s install is much like that of its predecessor, you install a DIN-E sized cage into your car and the empeg slides in and out of that cage. As with any car stereo installation, if your car doesn’t follow the DIN-E specification properly, you’ll have problems installing the unit.
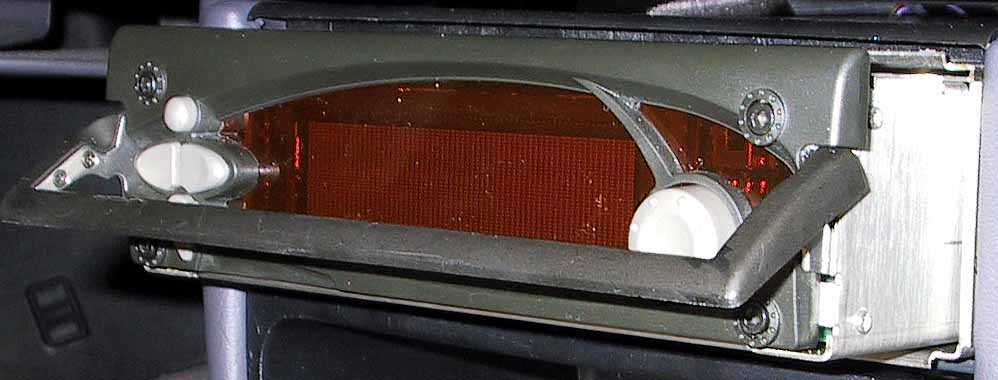
Empeg recommends that you leave the unit installed at an angle no greater than 16 degrees from the horizontal, doing so may defeat some of the shock resistant features of the empeg.
This leads us to the various configurations you could install the empeg in. As we just mentioned, the unit isn’t powered so you will need to have an amp regardless of how you install the player. But when you do install the player you have the following options:
1) Use the empeg as your only head unit. In this case all you would need to do is hook the unit directly up to your amp and you’ll be on your way.
2) Use the empeg as an auxiliary input to your current head unit. This method gives you the benefits of your current head unit, such as a built in CD player for those rare days when you don’t have the CD you want to play loaded on your empeg (if a friend brought one in the car for example), as well as any FM tuner features you may miss. However be certain that your current head unit can accept auxiliary RCA inputs, most aftermarket units require that you purchase an adapter cable that allows for you to use the empeg (or any device) as an auxiliary input to your head unit. Some factory OEM don’t even allow for such a cable to be purchased, so keep that in mind if you’re planning on exploring this option.
3) Use your current head unit as an auxiliary input to the empeg. This method gives you the benefits of the empeg without giving up the luxuries your current head unit might offer. This requires that your head unit has RCA line-level outs or that you buy a speaker level to line level adapter, this is assuming that you’re not using a system that uses unusual output levels (i.e. Bose systems). Be warned, if you don’t have the empeg unit installed in your car, your previous head unit won’t work since it’ll be going through the empeg.
If you’re going to be exploring option number 1 where you replace your current head unit with the empeg you’ll probably want to pick up a wiring harness for your particular head unit. This will basically allow you to plug the connector going into your current head unit into this harness and will prevent you from having to cut up your wires. A wiring harness will set you back an additional $10 - $15.
Another thing to consider is that many cars don’t follow the DIN-E specification required by the empeg. Because of this you may have to pick up a mounting kit if one is available for your car. If one isn’t available and your car doesn’t follow the DIN-E specification you may have to get creative with your install, there have been situations where a little dash trimming is necessary in order to get a perfect fit.
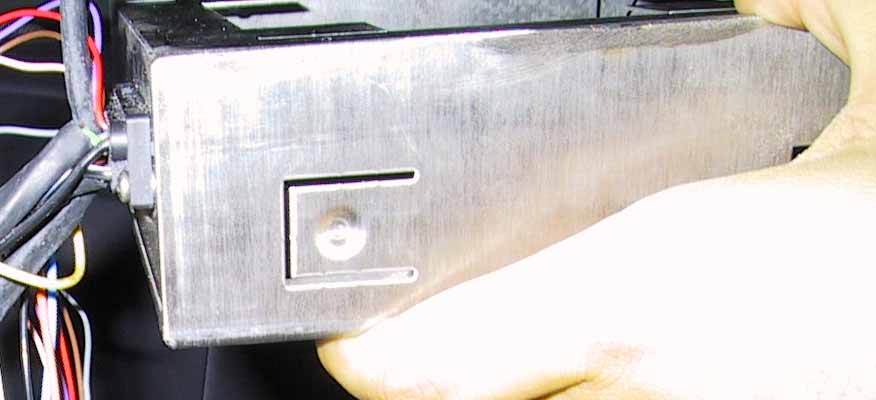
The empeg’s installation cage isn’t made all that well, there are a number of sharp edges and it is very easy to cut yourself on the metal. We have to give them credit though, it’s much easier to machine an entire block that will fit into a bay rather than a hollow metal cage in the case of the empeg.
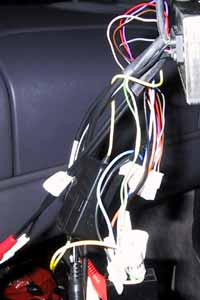
The cage itself features quite a few cables hanging off of it that are supposed to interface with your head unit or your amp. The empeg unit has no built in amplifier, so you will have to have an amp in your car in order to use the empeg, anyone else see that price going up?
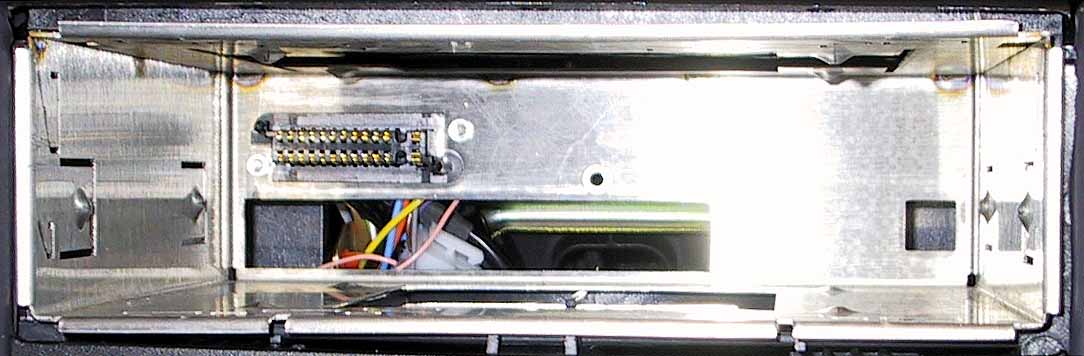
The back of the cage isn’t entirely open, meaning that if the rear of the cage is stuck on anything during its install you can’t tell by simply looking into the cage.
The cables hanging off of the cage include a total of 6 female RCA cables, the necessary power and ground wires as well as a 9-pin serial cable that can be used as an interface to other in-car electronics. Four of those RCA jacks are for the empeg’s 4-channel 4V line level RCA outputs, which have a 3.2V RMS rating making them above the 1 – 2V average for car stereos.
Any decent or high end car stereo will have 4V outputs, the reason behind this being that the higher the voltage of your output, the lower any noise will be relative to your output. For example, if you’re outputting 0.1V of noise on a 1.8V output, 6% of your output is noise. However if you’re outputting the same amount of noise on a 4V output only 3% of your output is noise. Because of this, the sound quality of the empeg should be identical to any CD player provided that your MP3s are of a high enough quality.
The last two RCA jacks are dedicated to a set of 1V line level inputs if you’re planning on using your current head unit as an auxiliary input to the empeg.
The biggest complaint we had about the installation of the empeg was that the cables were entirely too short. Unless the empeg is going to be a head unit replacement, the cables they provided are simply too short (around 6”) to work with, and for the price you’re paying for the unit you’d expect something a bit easier to work with.
Since the elimination of the floating grounds, the empeg car’s install is just as eventful as any other car stereo installation with no weird quirks courtesy of the empeg’s design.


0 Comments
View All Comments