Intel Z87 Motherboard Review with Haswell: Gigabyte, MSI, ASRock and ASUS
by Ian Cutress on June 27, 2013 8:00 AM EST- Posted in
- Motherboards
- Intel
- MSI
- Gigabyte
- ASRock
- Asus
- Haswell
- Z87
- Shark Bay
- Lynx Point
MSI Z87-GD65 Gaming Overview
Right at the end of our Ivy Bridge / Z77 coverage, we took delivery and reviewed the MSI Z77A-GD65 Gaming, the first proponent of MSI’s gaming philosophy being applied to motherboards. At the time, the Gaming series was a half-evolution; MSI had planned to introduce the Gaming range with Z87 and Haswell, but due to Haswell delays they felt it made sense to take some of what they wanted on Haswell and put it on a standard Z77A-GD65 to make the Z77A-GD65 Gaming.
At the time of that review, I criticized the Z77A-GD65 Gaming for being that half-evolution. Most of the motherboard was the standard channel Z77A-GD65, but with the Gaming heatsinks, logos, and a couple of feature changes (Killer NIC), and a significant step up in price which made the regular version seem better value. This time around with Z87, we get the Gaming edition before the channel model, and MSI are finally able to put the full range of functionality they wanted in the Gaming series onto the motherboard.
What this means is we still get a Killer NIC from Qualcomm Atheros, designed to make certain programs have higher priority and bypass the Windows network stack for lower latency, Audio Boost (an EM shielded Realtek ALC1150 audio codec with additional filter caps and 600Ω headphone amplifiers), an mSATA connector, a two-stage OC Genie, larger heatsinks and an all 4-pin fan header design. There is also the software and BIOS update too.
The BIOS is improved in terms of look and responsiveness, improving the overall user experience. The MSI BIOS now partitions part of the area off for explanations of various features, and the new Hardware Monitor/Board Explorer options help with both fan controls and diagnosing errors. We still have a small issue of the jumble of overclocking options, but as long as the user is careful overclocking should be easy enough. Software also gets an update, with a new version of Command Center.
Performance wise, the MSI Z87-GD65 Gaming does not throw up that many surprises, performing on par with other motherboards in our test due to implementing MultiCore Turbo by default. A couple of points for concern might be the DPC Latency, which is a fair bit higher than I would have expected (I ideally want sub 100-microseconds), and the audio test put the MSI behind the other ALC1150 enabled boards in this review. We get an x8/x4/x4 PCIe layout for GPUs, meaning our tri-AMD GPU tests are better than those with x8/x8 + x4 arrangements.
For out 18-port Flex IO, we get six SATA 6 Gbps from the PCH and six USB 3.0, leaving six PCIe 2.0 lanes to go between the PCIe 2.0 x1 slots and additional controllers. Aside from the Killer NIC and ALC1150 audio codec, the sole additional controller onboard is an ASMedia SATA 6 Gbps, giving another pair of ports.
In terms of overclocking, the Z87-GD65 Gaming performed very well in both automatic and manual mode with nice temperatures throughout. Despite the fact that users cannot set the VRIN voltage in the BIOS below 1.80 volts (something MSI may change in a later BIOS), the automatic load line calibration seemed to do its job and we hit 4.6 GHz with ease on our good CPU, pushing 4.7 GHz for 90C+ peak temperatures.
While MSI is going after the gaming crowd with its Killer NIC and Audio Boost features, the critical point on whether this will be a good buy is based on the hardware around the same price point. On the face of it we have a Z87 motherboard with an additional SATA 6 Gbps controller and a pair of high-end NIC/Audio controllers, along with features which are becoming commonplace at this price point (V-Check Points, two BIOSes, GoToBIOS). Can a knockout feature be worth it when other motherboards offer more USB 3.0 / SATA 6 Gbps / NICs? Time will tell.
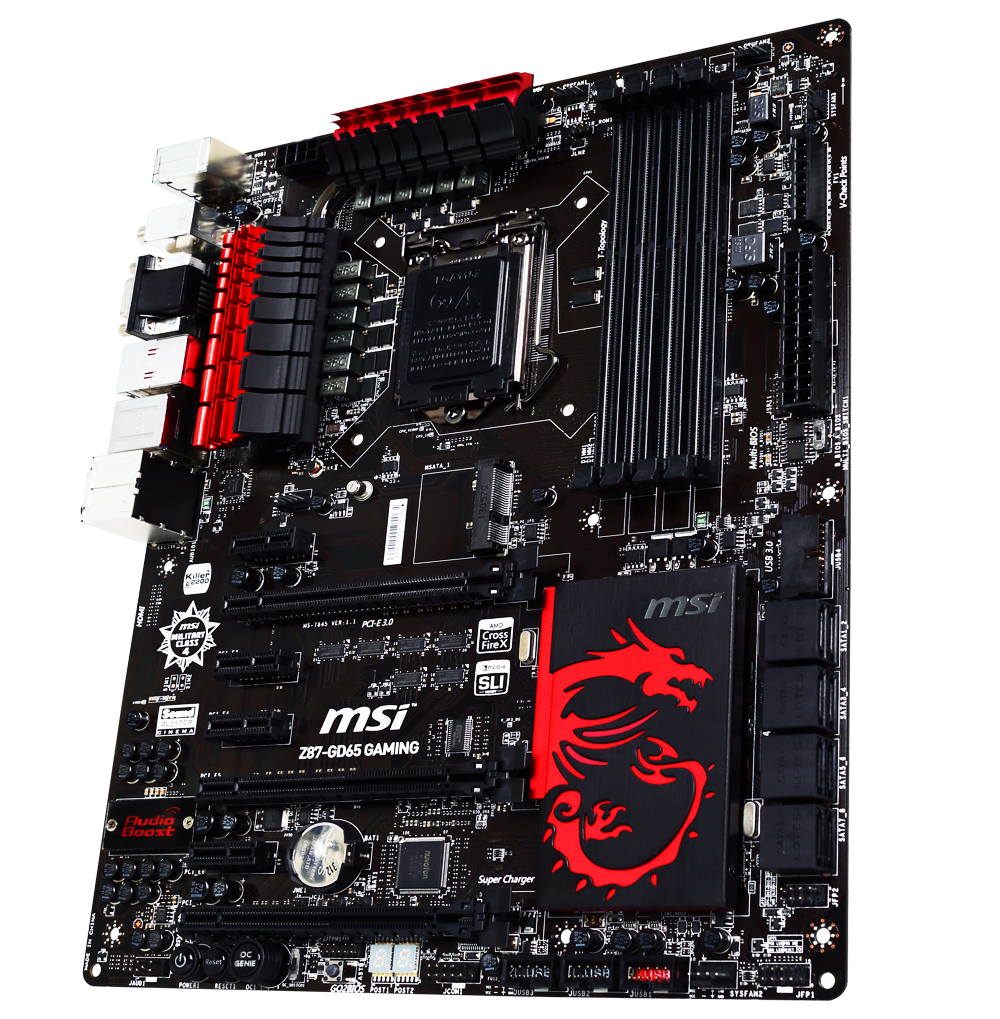
MSI Z87-GD65 Gaming Visual Inspection
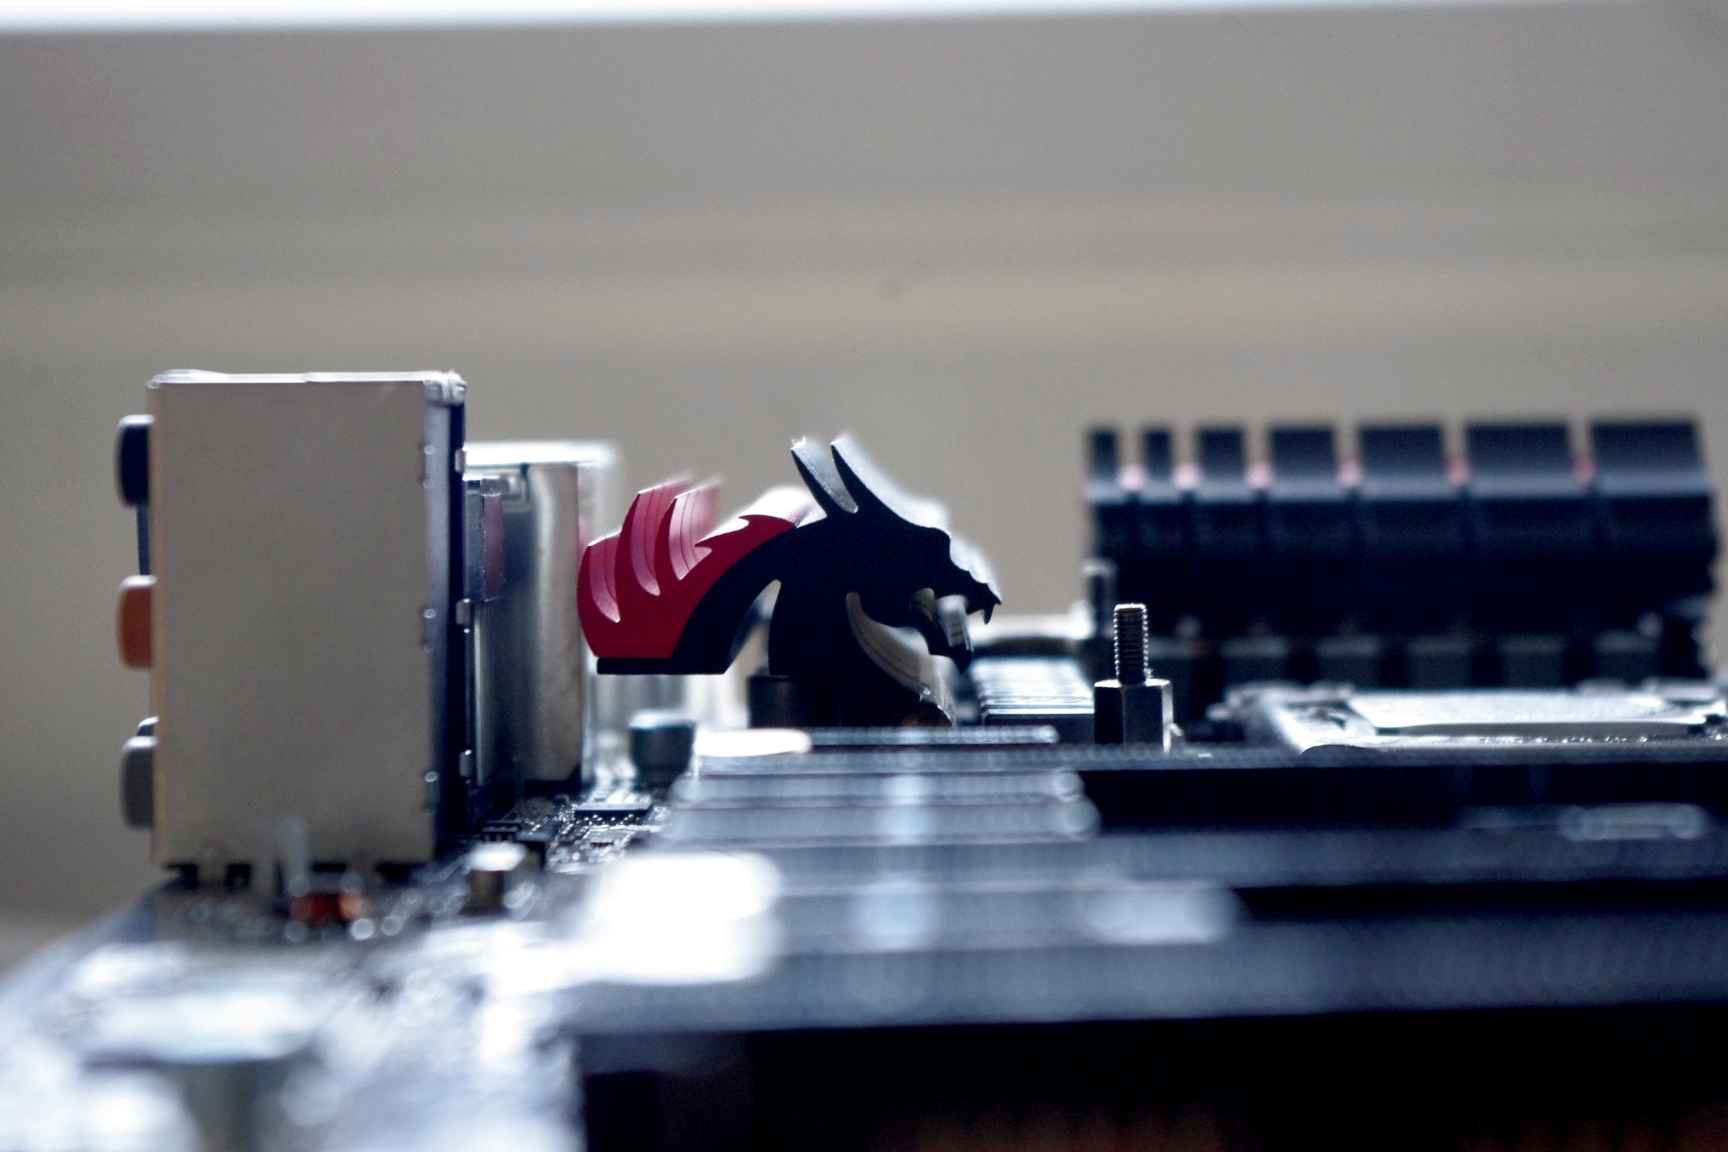
From the old Z87-GD65 Gaming the first element of the motherboard we notice is the size of the heatsinks. We still have the dragon motif of the chipset heatsink and the dragon shape of the VRM one, but on the Z87 platform MSI have kicked up the size a notch.
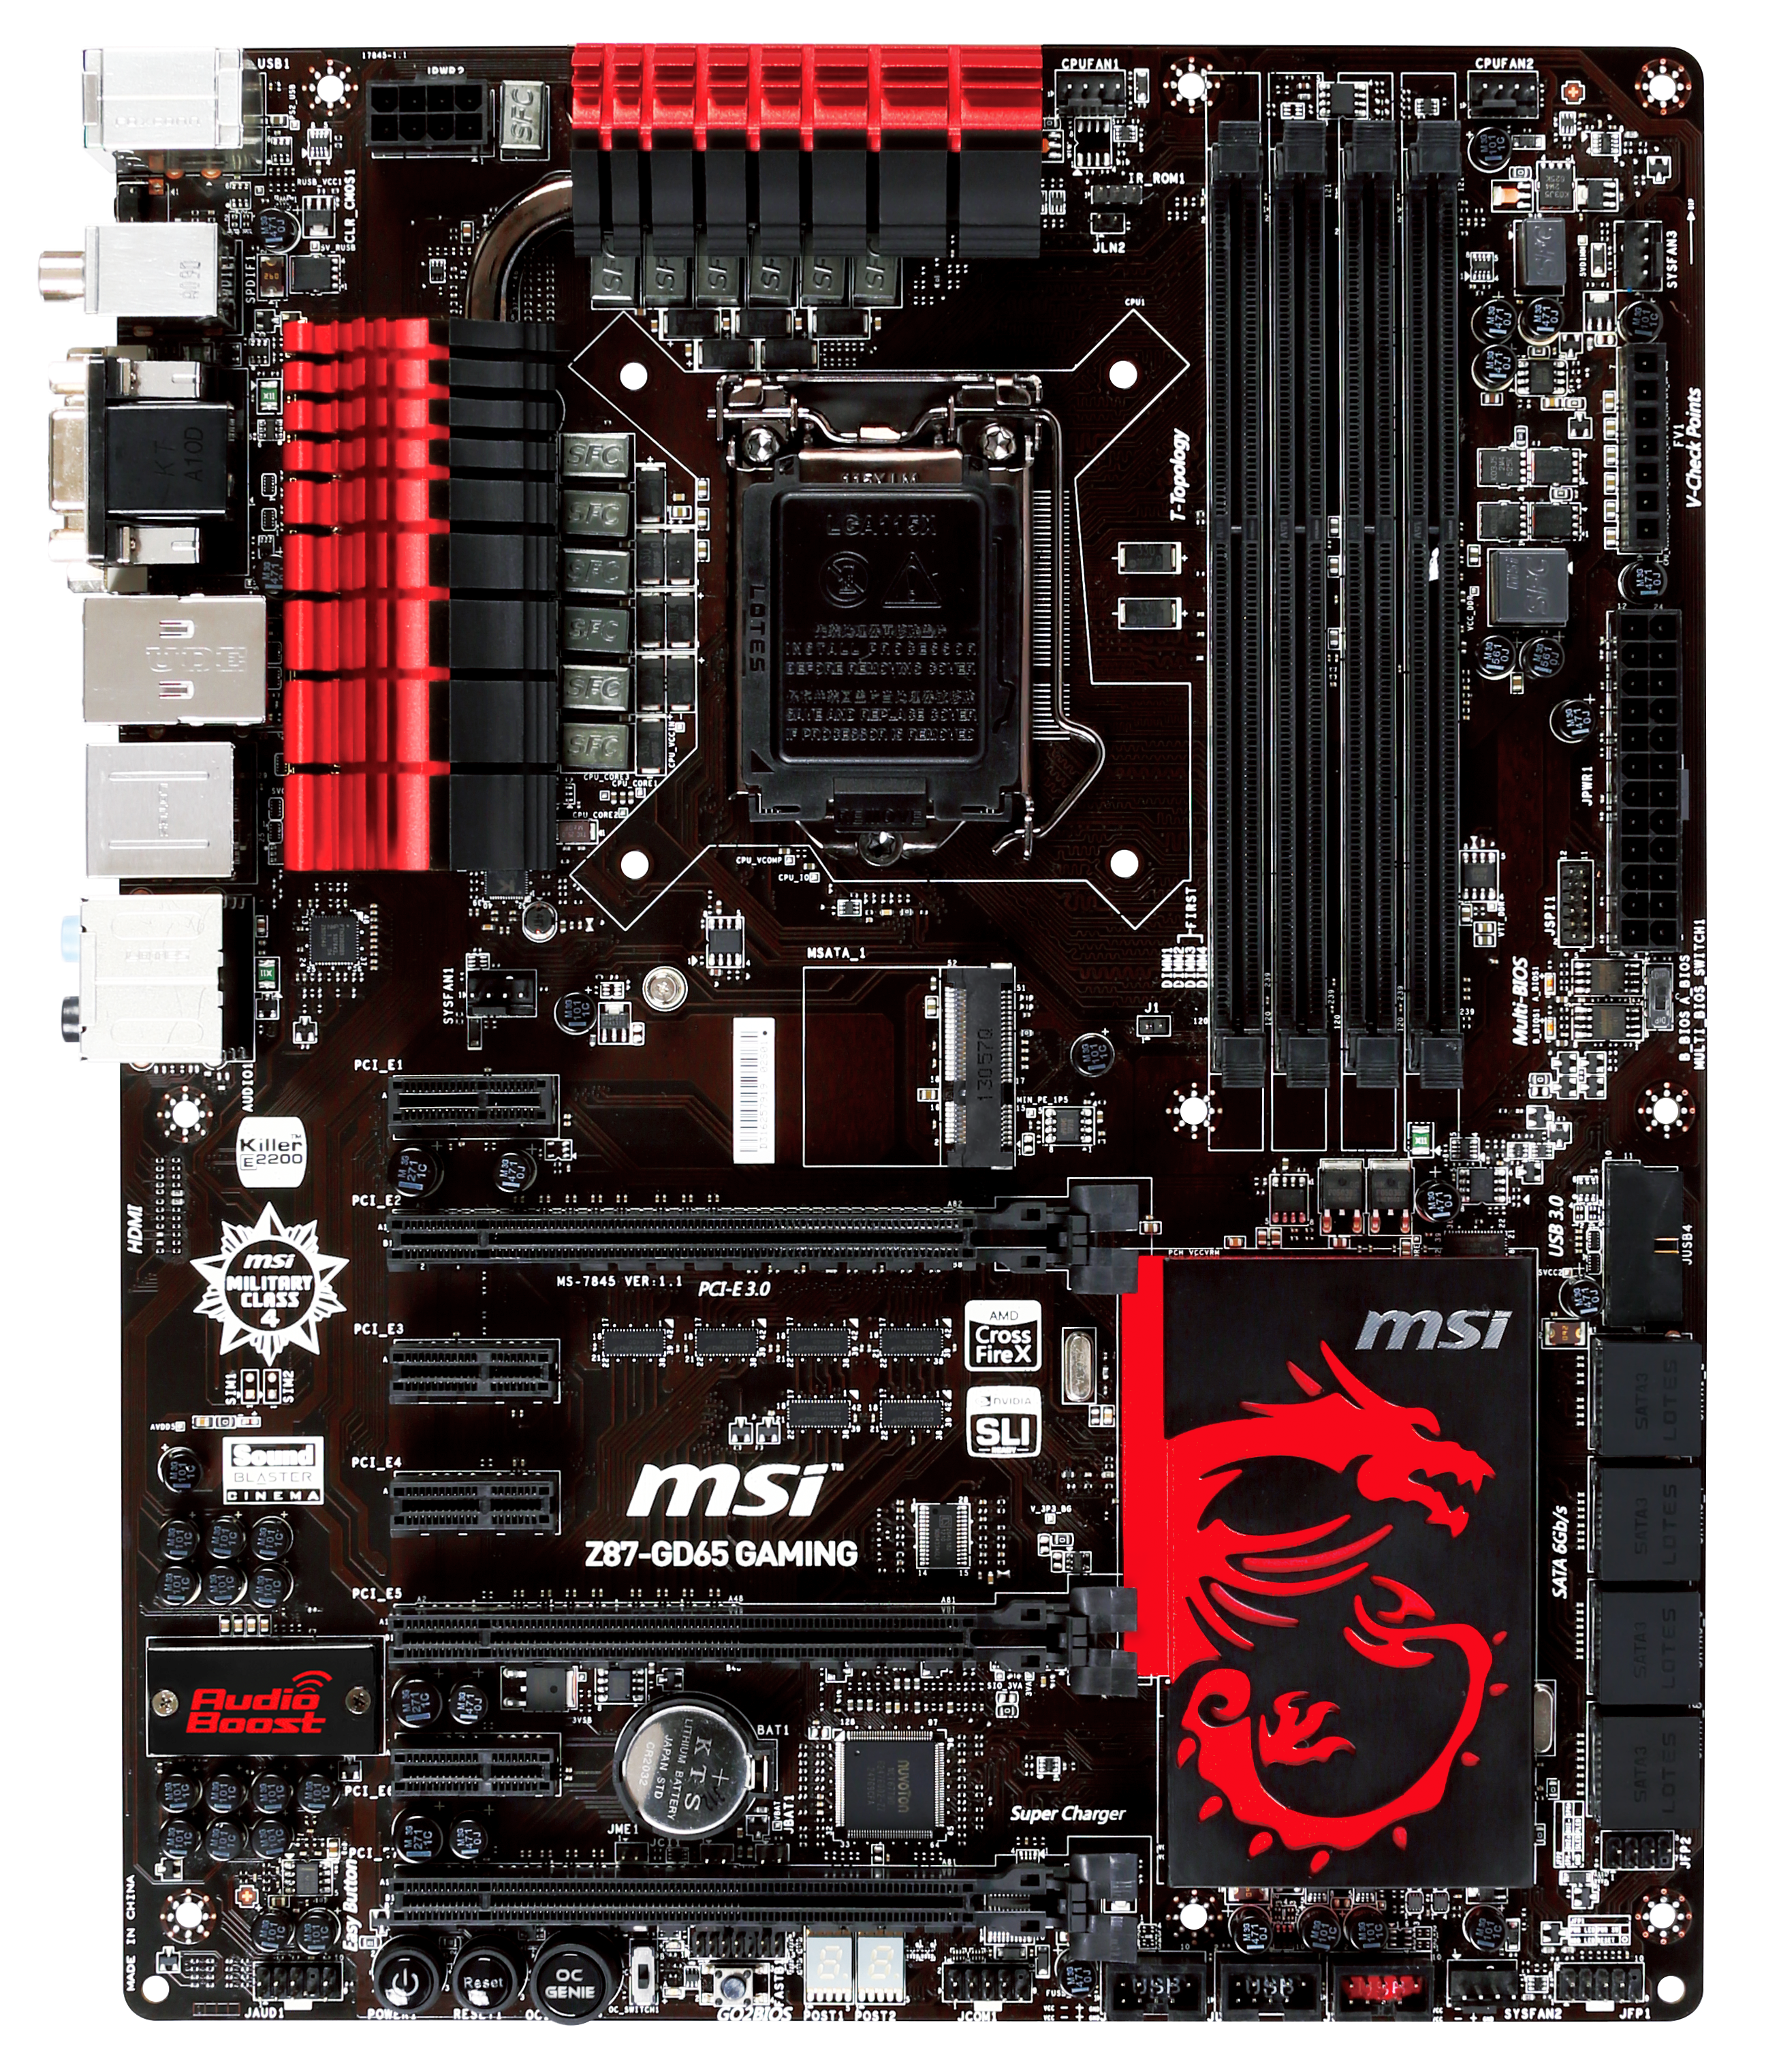
The heatsink area is pretty much on Intel specifications, meaning that large coolers may hinder memory with tall heatsinks, but the first GPU PCIe slot is far enough away to not have any issues. The power delivery heatsinks are connected via a heatpipe, and rather than a PLX chip in the middle of the motherboard we get an mSATA 6 Gbps port which shares bandwidth with one of the SATA ports. Within the region of the socket we have access to four fan headers – one CPU 4-pin between the heatsink and the memory slots, a CPU 4-pin the other side of the memory, a 4-pin SYS fan header above the V-Check points on the right hand side and a 4-pin SYS to the bottom left of the socket. The fifth fan header on board is on the bottom right next to the front panel header.
The memory slots at this price SKU are not using the single sided latch mechanism which I am rather fond of, but in that upper right hand corner we get a pair of the aforementioned fan headers, an array of voltage check points (V-Check), and our 24-pin ATX power connector above the multi-BIOS switch and a pair of BIOS chips.
To the right of the chipset heatsink we get a USB 3.0 header at right angles to the motherboard, which is not the normal way of doing things but it does keep it out of the way of the first PCIe slot when a large GPU is installed. We have a total of eight SATA 6 Gbps ports – the top six from the PCH and the bottom pair from an ASMedia controller. Personally I would prefer these to be a different color to the rest, or at least an indication on the board which are which (such as SATA_E12, rather than SATA_78).
Along the bottom of the board are our front panel audio header (connected to Audio Boost), power/reset switches, the OC Genie switch which now has an accompanying DIP switch for two different levels of OC Genie, a Go2BIOS button for BIOS overclockers, a two-digit debug LED display, a COM port, three USB 2.0 headers and our front panel header.
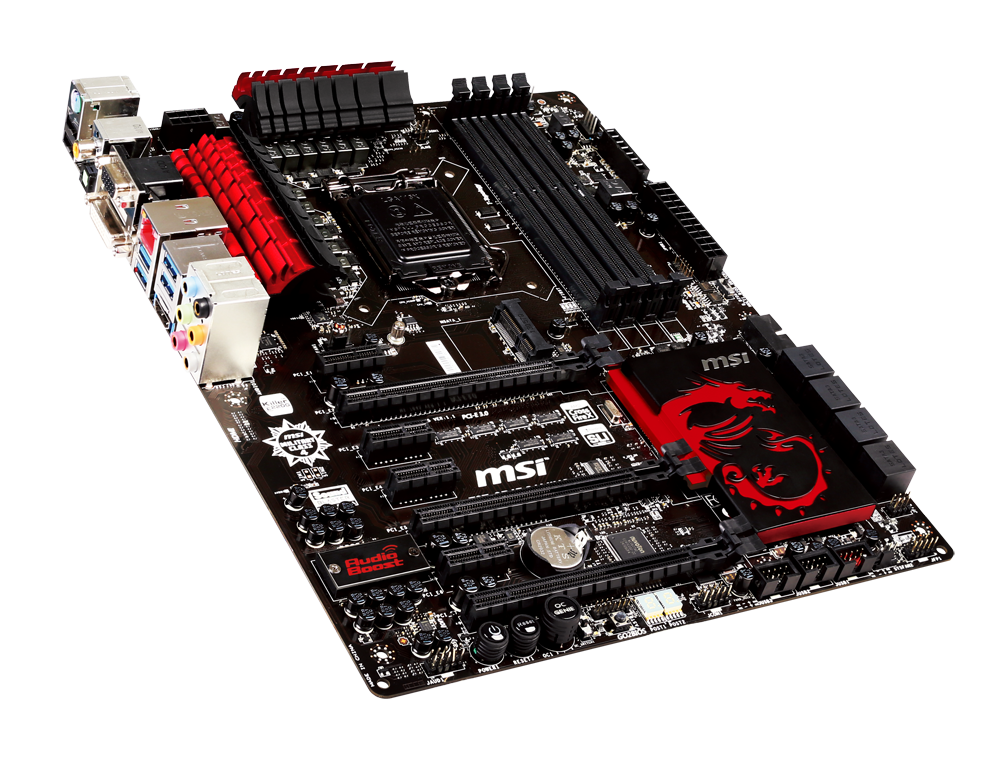
Moving to the left hand side of the board we have MSI Audio Boost. As we see with most of the boards in this roundup, there is more of an emphasis on applying good quality audio on a motherboard rather than just a simple audio codec. ASUS have SupremeFX on their ROG range, ASRock has Purity Sound on their Z87, Gigabyte has Sound Core3D and now MSI have Audio Boost. Audio Boost follows roughly the same pattern as the others – a high end codec (Realtek ALC1150), an enclosed metal shield to protect the codec from EM interference, high quality Japanese capacitors for filtering, headphone amplifiers for both the rear and front audio to support high impedance headphones up to 600 ohm and Sound Blaster Cinema software. Variations of this theme across other motherboards might limit the headphone amp to one output, or limit the electrical traces of the audio to a single PCB layer. The whole goal of this is to push the audio codec to close to its specifications as possible, which for the ALC1150 is 115 dBA SNR output and 104 dBA SNR input. With a badly designed board, we can see this value drop to the mid-70s with a high level of harmonic distortion. All bodes well for the MSI though, except that in order to get our audio tests to run I had to disable the Sound Blaster Cinema software.
The PCIe layout on the Z87-GD65 Gaming is another typical example of what most of Z87 will apply – three full length PCIe lanes in an x1/x16/x1/x1/x8/x1/x4 layout. The full length slots all use PEG lanes from the CPU, giving a maximum of a PCIe 3.0 x8/x4/x4 configuration in CrossFireX and x8/x8 in SLI. It is worth noting that by placing ANY card into the final x4 slot this will force the second slot down to x4, therefore disabling two-way SLI which requires a minimum of x8 PCIe lanes (either 2.0 or 3.0, it just needs eight of them).
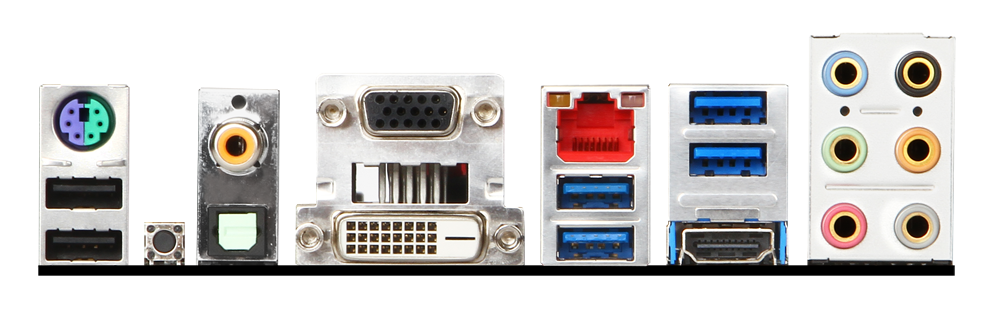
The rear IO of the board removes DisplayPort in favor of dual SPDIF outputs and a Clear_CMOS button. From left to right we get a PS/2 combination port, two USB 2.0 ports, the Clear_CMOS button, dual SPDIF outputs, D-Sub, DVI-D, HDMI, a Qualcomm Atheros Killer E2205 NIC, four USB 3.0 ports and the set of audio jacks.
MSI Z87-GD65 Gaming Features
| MSI Z87-GD65 Gaming | |||||||
| Price | Link | ||||||
| Size | ATX | ||||||
| CPU Interface | LGA-1150 | ||||||
| Chipset | Intel Z87 | ||||||
| Memory Slots |
Four DDR3 DIMM slots supporting up to 32 GB Up to Dual Channel, 1066-3000 MHz |
||||||
| Video Outputs |
D-Sub DVI-D HDMI |
||||||
| Onboard LAN | Killer E2205 NIC | ||||||
| Onboard Audio | Audio Boost (Realtek ALC1150) | ||||||
| Expansion Slots |
3 x PCIe 3.0 x16 (x16, x8/x8, x8/x4/x4) 4 x PCIe 2.0 x1 |
||||||
| Onboard SATA/RAID |
6 x SATA 6 Gbps (PCH), RAID 0, 1, 5, 10 2 x SATA 6 Gbps (ASMedia 1041) 1 x mSATA 6 Gbps (Share with PCH) |
||||||
| USB |
6 x USB 3.0 (PCH) [1 header, 4 IO ports] 8 x USB 2.0 (PCH) [3 headers, 2 IO ports] |
||||||
|
Flex IO x+y+z = 18 |
|
||||||
| Onboard |
8 x SATA 6 Gbps Ports 1 x mSATA 1 x USB 3.0 Header 3 x USB 2.0 Headers 5 x Fan Headers Power/Reset Butons OC Genie Button OC Genie Switch Two Digit Debug 1 x COM Port Front Panel Audio Header Front Panel Header Voltage Check Points Go2BIOS Button |
||||||
| Power Connectors |
1 x 24-pin ATX Power 1 x 8-pin CPU Power |
||||||
| Fan Headers |
2 x CPU (4-pin) 3 x SYS (4-pin) |
||||||
| IO Panel |
1 x PS/2 Port 2 x USB 2.0 Ports 4 x USB 3.0 Ports Clear_CMOS Button SPDIF Outputs D-Sub DVI-D HDMI Killer NIC Audio Jacks |
||||||
| Warranty Period | 3 Years | ||||||
| Product Page | Link | ||||||
Motherboard manufacturers have two ways of marketing a board at a particular price point. They can either go all out on functionality, adding in as many ports and headers as they can within the budget (such as the UD3H), or they can shift that extra budget over the base in a single ‘knockout’ feature. MSI have tried to hit the middle of this attack, using a Killer E2205 network chip (which was arguably a $10 cost on the Z77 Gaming over the standard GD65), and an extra SATA 6 Gbps controller. But the heatsinks are bigger, and there is a two-stage OC Genie as well.


58 Comments
View All Comments
ShieTar - Thursday, June 27, 2013 - link
Is there a special reason not to test the POST times and DPC latency of the Gigabyte Board? Its power consumption is quiet impressive, and whatever design measures have been used to achieve it do not seem to negatively affect the overall performance. So it would be interesting to complete the picture with the two measurements which are missing.IanCutress - Thursday, June 27, 2013 - link
DPC Latency on the Gigabyte during testing was jumping around a fair bit, hitting 800+, though that is more likely due to the early BIOS revision. I need to run the POST test (as the results are strangely missing from my database) as well as the DPC test on a newer BIOS. Since I started testing almost every manufacturer has released newer BIOSes (as is always the way coming up to a launch) and I really have to lay the hammer down as testing a whole new BIOS takes a good 30 hours or so start to finish, so when I'm locked in that's it. That in a way does give an unfair advantage to the board I test last, but there's not a lot else I can do. I am still getting emails of BIOS updates for these boards as of yesterday.Ian
tribbles - Thursday, June 27, 2013 - link
Am I wrong in thinking that Gigabyte hasn't been doing well in the DPC Latency Test since Z77? If so, that's kind of surprising, since Gigabyte seems to be a "go-to" brand for digital audio workstation builders.IanCutress - Wednesday, July 10, 2013 - link
I retested the UD3H on the F5 (public) BIOS, and it scored 164. The two next boards I have in for review got 160 and 157, which points fingers to the DPC on Haswell being 150+ regardless of motherboard. This might be a fundamental issue.Timur Born - Saturday, July 27, 2013 - link
Run Prime95 (or turn off CPU power features) while measuring DPC latencies to see how much CPU power saving features affect DPCs.jhonabundance - Thursday, August 28, 2014 - link
great share http://asus.comjhonabundance - Thursday, August 28, 2014 - link
this is the best share http://asus.comRick83 - Thursday, June 27, 2013 - link
Maybe a bad choice to use two different ways of graphing the Rightmark results.Being consistent with regard to cutting off the irrelevant bit of the graph makes it a much easier read.
Now it appears at first glance as though the Gigabyte board is much better in THD+N, simply because the differences were so minuscule in the dynamic range bit.
On another note: Shouldn't it be more interesting to use a standardized input instead of the input of the board? In the current protocol a good output could be handicapped by a bad input, and conversely. For most users the output is much more important than the input, so it might be better to test it independently? I would recommend using a USB soundcard as an easy means of doing this test on the same machine, without changing the setup protocol too much.
And finally - I seem to remember Rightmark results for earlier reviews - it would be interesting to have those (or maybe a reference soundcard?) as comparison in the same graph. After all, for DPC you maintain a large cross-platform table as well.
Nice thorough initial review, those nitpicks withstanding.
IanCutress - Thursday, June 27, 2013 - link
Unfortunately I can't adjust the engine to represent from 0 for negative values, I don't have access to the low level options. I forwarded it on as an issue.I'd love to use a standardized input with RMAA. I guess it would be good to get a sound card with an input that supercedes the output of the motherboard and put it through that way, and hopefully there won't be a driver conflict along the line. I'll see what I can do to get in the hardware for that, although many soundcards are designed more for output and the input dynamic range/distortion might be the limiting factor as is the case on motherboards. Something like the Xonar Essence STX has a 118 dBA input with -113 dBA THD+N which might be a good starting point.
Our RMAA testing for Z87 has changed a little from Z77 to make it more of an efficiency test rather than an out-the-box test as audio is such a varied playing field. RMAA is very sensitive to certain windows settings and volumes for example such that with the right combination it was very easy to show A>B or B>A depending on how the OS felt it should be set up. The new testing regimen for RMAA should iron out those issues but the results are not exactly comparable to Z77 for that reason. There are so many wrong ways to set up RMAA it can be difficult (and a learning experience) to get it right.
Ian
popej - Thursday, June 27, 2013 - link
Nice to see you are planning steps in right direction. Using reference card for measurements is a proper solution. Be aware, that separate card add complications to the test, for example you will have to take care about ground loops and signal level matching. Professional card with balanced input could help a lot.